Overview
Figma is the undisputed industry standard for UI/UX design in 2026. However, staring at a blank canvas can be intimidating. The most common mistake beginners make is attempting a massive, complex app immediately, getting overwhelmed by unstructured layers, and quitting. To build muscle memory, you must break the tool down into small, achievable projects. This guide provides 5 progressive Figma projects designed to teach you the core mechanics of the software.
Table of Contents
- Key takeaways
- The 5 beginner projects
- Crucial Figma habits to build early
- Common mistakes to avoid
- Advanced techniques for later
- FAQs
- Editorial scope
Key Takeaways
UI Components first
Before designing full screens, learn to design individual components like buttons and form fields using proper padding.
Embrace Auto Layout
Never manually drag elements to align them. Use Auto Layout (Shift+A) immediately to build responsive, flexible structures.
Use Styles
Define your color palette and typography scales as Local Styles. Never use the color picker randomly.
Basic Prototyping
Learn to link screens together using Figma's prototype tab to show simple transitions like 'Smart Animate'.
The 5 Beginner Projects
Project 1: The Login Screen (Goal: Input States & Hierarchy)
Your very first project. Keep it extremely simple. A logo, a "Welcome Back" heading, an email input, a password input, and a primary CTA (Call to Action) button.
- Figma skill learned: Basic shapes, text tool, grouping.
- Challenge: Design 3 states for the email input field: Default, Active (typing), and Error (invalid email). This teaches you about component states and visual feedback.
Project 2: The Recipe Card (Goal: Auto Layout & Images)
Design a card that displays a recipe. It needs a photo, a title, a rating (stars), preparation time, and a short description.
- Figma skill learned: Image masking and Auto Layout.
- Challenge: Use Auto Layout (Shift+A) so that if you type a longer recipe description, the card automatically expands downward without breaking the layout. This is crucial for modern UI design.
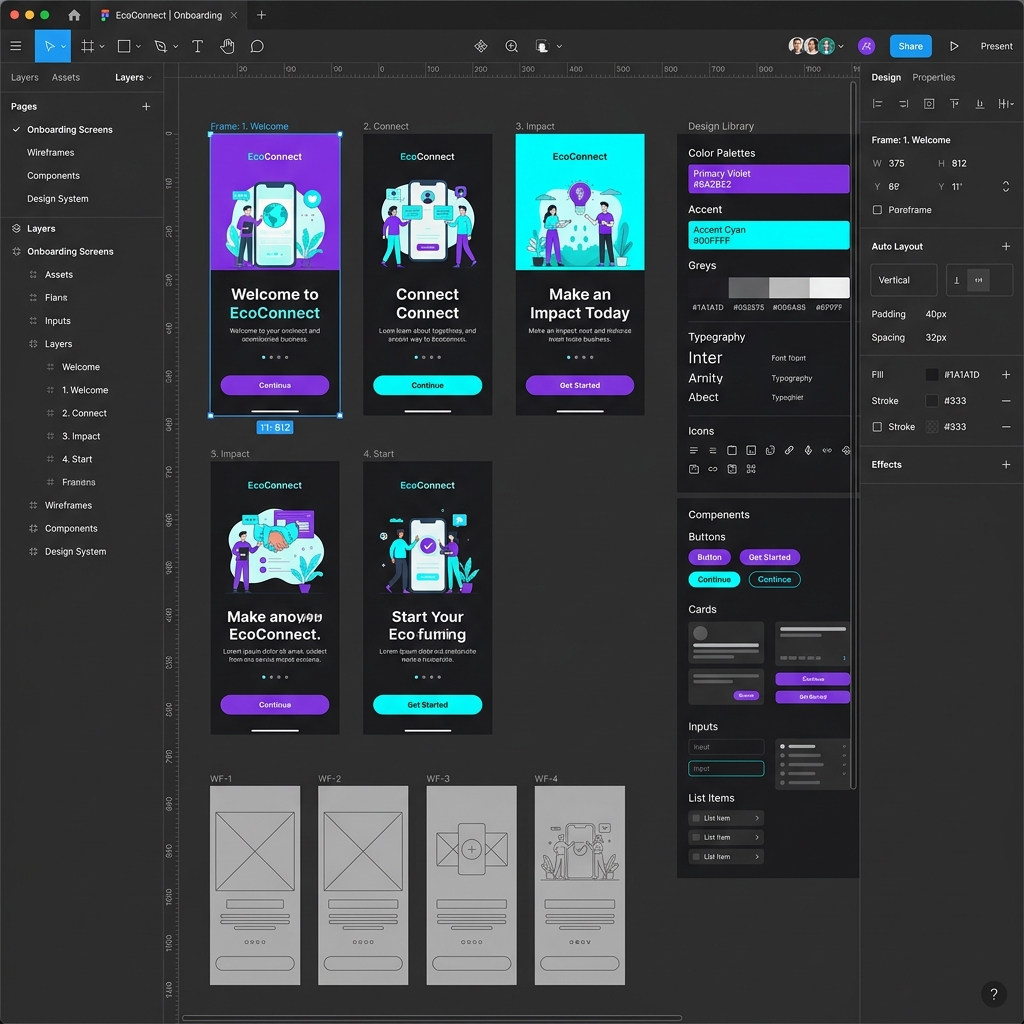
Project 3: The 3-Screen Onboarding Flow (Goal: Prototyping)
Design the first three screens a user sees when downloading a fitness app. Each screen should have an illustration, a short benefit statement, and a "Next" button.
- Figma skill learned: The Prototype tab, interactions (On Click → Navigate To).
- Challenge: Add a progress indicator (like 3 small dots) at the bottom and animate the transition between screens using "Smart Animate" for a smooth slide effect.
Project 4: The Mobile Settings Menu (Goal: Components & Variants)
A list view of app settings (e.g., Notifications, Dark Mode toggle, Account details).
- Figma skill learned: Master Components and Variants.
- Challenge: Create a 'Toggle Switch' component. Create two variants: 'On' (green) and 'Off' (grey). Place instances of this toggle in your settings menu. If you update the master component, all instances should update instantly.
Project 5: A 1-Page Landing Site (Goal: Grids & Responsiveness)
Design a simple desktop landing page for a fictional coffee brand. Include a hero section (big headline + image), a features section (3 columns), and a footer.
- Figma skill learned: Layout Grids (12-column) and Constraints.
- Challenge: Set constraints so that if you drag the desktop frame wider, the navigation links stay pinned to the right and the logo stays pinned to the left. Once you're comfortable, you can explore adding these into a UI/UX portfolio.
Is the ISS UI/UX Design programme right for you?
Review the curriculum for research, interface design, and portfolio projects. Compare the learning format, weekly commitment, fees, and support with your goals before applying.
View UI/UX Design curriculum →Crucial Figma Habits to Build Early
- Name Your Layers: "Rectangle 42" and "Frame 11" will destroy your sanity in a complex file. Name your layers logically (e.g., "Hero-Background", "Primary-Button").
- Use the 8pt Grid System: When setting padding, margins, or sizing elements, use multiples of 8 (8, 16, 24, 32, 40). This ensures mathematical harmony across your entire design.
- Learn the Keyboard Shortcuts: Speed is a designer's best friend. Memorize the basics: 'V' for move, 'T' for text, 'R' for rectangle, 'O' for ellipse, 'Shift+A' for Auto Layout, and 'Cmd/Ctrl+G' to group.
Common Mistakes to Avoid
- Mistake: Designing without a grid. Always turn on a Layout Grid (usually 4 columns for mobile, 12 for desktop) before placing elements.
- Mistake: Using absolute black (#000000). Absolute black causes eye strain on digital screens. Use a very dark grey instead (e.g., #1A1A1A or #121212).
- Mistake: Ignoring contrast. Ensure your text is readable against its background. Use Figma plugins like "Stark" or "Contrast" to check WCAG accessibility compliance. If you want to understand the broader context of these rules, read our beginner's guide to UI/UX design.
Advanced Techniques for Later
Once you complete the 5 beginner projects, look into these intermediate concepts:
- Figma Variables (Tokens): Learn how to store colors, spacing, and text strings as variables. This makes creating Dark Mode incredibly easy.
- Interactive Components: Create a button component that automatically changes to a 'hover' state when a user mouses over it in the prototype view, without needing to wire up duplicate screens.
- Auto Layout Wrapping: Learn how to make a row of tags automatically wrap to the next line when they run out of horizontal space.
FAQs
Is Figma completely free for beginners?
Yes, Figma's Starter tier is perfectly adequate for all beginner projects. You get 3 Figma files and unlimited personal drafts. You only need a paid plan for advanced team libraries.
Do I need a Mac to run Figma?
No. Figma is browser-based. It runs excellently on Windows, Mac, and even Chromebooks, provided you have a decent internet connection.
Should I learn Sketch or Adobe XD instead?
No. In 2026, Figma holds over 90% of the UI/UX market share. Focus all your early energy on mastering Figma.
What is the hardest Figma feature to learn?
Auto Layout and Variables usually take the most time to grasp. They force you to think like a frontend developer (using flexbox logic). Master Auto Layout early, and your designs will be infinitely scalable.
Can these projects go in my portfolio?
They are great starting points. However, a real portfolio case study requires user research and testing. Use these projects to build your technical skills, then expand one of them with real user data to make it portfolio-ready.
Where can I find free icons and images for Figma?
Figma has a massive Community tab. You can duplicate free icon sets (like Phosphor or Feather Icons) and use plugins like Unsplash for high-quality stock photography directly inside your canvas.
How long should a beginner project take?
A login screen might take 2 hours. A full dashboard could take a week. Don't rush. Focus on layer organization, naming conventions, and precise spacing over speed.
Editorial scope
This article provides an editorial learning guide, not a survey of hiring outcomes. Examples illustrate approaches to practice; they do not predict employment or pay.
Stuck on Auto Layout? Join our next live workshop to see how senior designers structure their files.
Talk to Admissions →