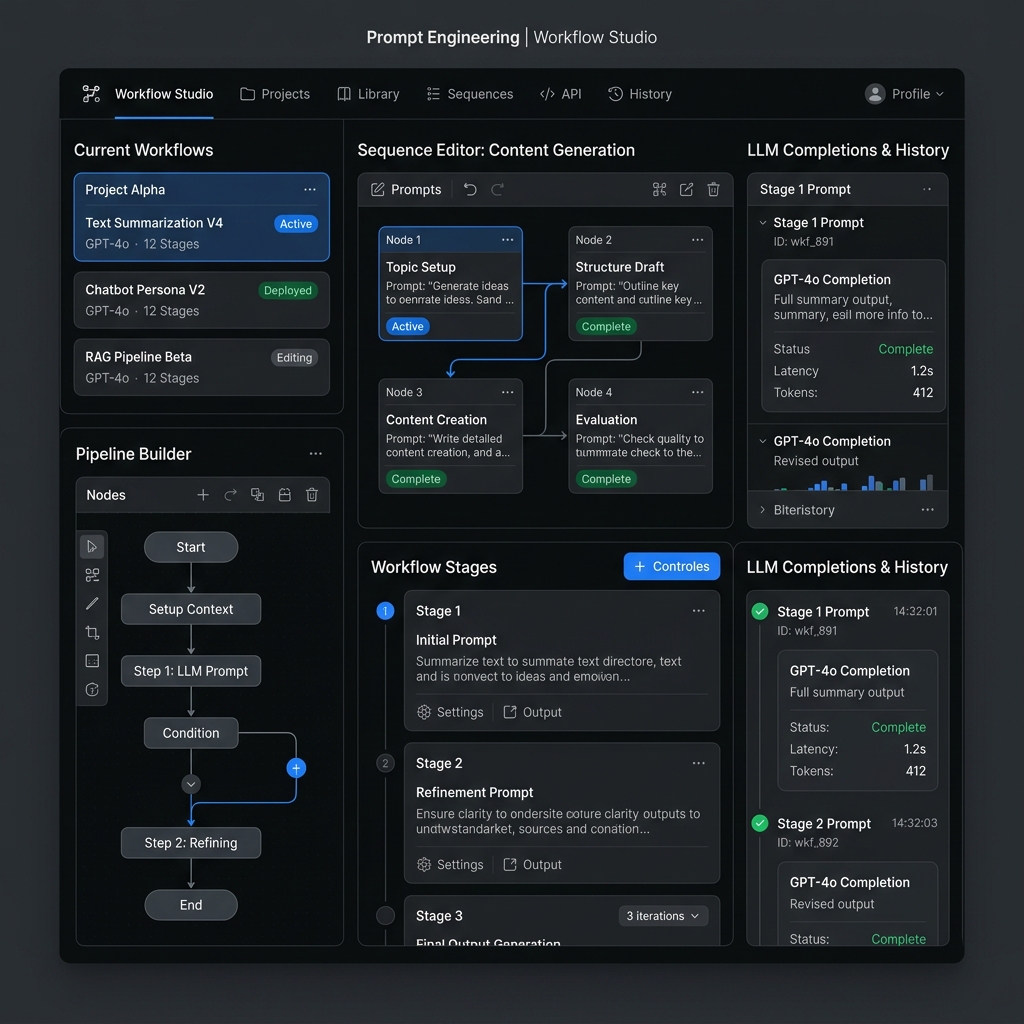
What is n8n and what can a beginner build with it?
n8n is a workflow automation tool. You connect boxes called nodes on a canvas, and each node does one job: receive a form, call an AI model, add a row to a sheet, send an email. When something starts the workflow, data flows from left to right through every node.
What makes n8n popular with AI builders is that it has AI nodes built in (LLM chains, AI agents, chat models, vector stores) next to hundreds of ordinary app integrations. It also has a source-available Community Edition you can run on your own machine under n8n’s fair-code Sustainable Use License.
Typical beginner projects that work well in n8n:
- Summarise every contact-form or feedback submission and log it in a sheet.
- Read new emails with a label, draft a reply with AI, and save it as a Gmail draft for a human to check.
- Every morning, pull a few RSS feeds, ask an AI model to pick the three most relevant items, and post them to Slack or Telegram.
- Turn a lead form into a CRM row plus a personalised welcome email.
If you want more ideas at this level, see AI automation projects for beginners. This tutorial builds the first one.
Should you use n8n Cloud or self-host n8n?
Beginners should usually start on n8n Cloud. There is nothing to install, form and webhook URLs work on the public internet straight away, and Google sign-in for credentials is simpler. n8n’s own docs recommend self-hosting only for people comfortable managing servers, containers and security.
| Option | Cost (checked September 2026) | What you get | Good for |
|---|---|---|---|
| n8n Cloud free trial | Free for 14 days, no card needed | Pro plan features, limit of 1,000 executions, Starter-level computing power | Learning and building your first workflows |
| n8n Cloud Starter | €20 a month, billed annually | 2,500 workflow executions a month, 5 concurrent executions, unlimited users and workflows | Individuals running a few live automations |
| n8n Cloud Pro | €50 a month, billed annually | 10,000 executions a month, 20 concurrent executions | Freelancers and small teams |
| Community Edition (self-hosted) | Free software; you pay for your own server | Core n8n on your laptop or a cloud server | People comfortable with Docker, or who need data to stay on their own machine |
Prices are listed in euros on n8n’s pricing page; your card or bank converts them to rupees. Monthly billing and taxes can change the total, so check the n8n pricing page before you pay. One warning: when a Cloud trial ends without an upgrade, n8n deletes the workspace. You get 90 days to download your workflows, so export anything you want to keep.
How to self-host n8n on your laptop
If you prefer to self-host, install Docker Desktop first. n8n’s docs now recommend a one-line setup that uses Docker Compose:
curl -fsSL https://get.n8n.io | shThe script checks Docker, creates an n8n folder with the config files, starts n8n and prints the address, which is http://localhost:5678. Open it in your browser and create the owner account for your local instance.
You will still see older tutorials that use npx n8n or npm install n8n -g. n8n’s docs mark npm installs as deprecated from n8n 3.0, which they say launches in October 2026, when n8n will be distributed only through Docker. If you are starting now, use the Docker-based setup.
A self-hosted n8n on localhost cannot receive traffic from the internet, so a form shared with other people, or a webhook from another app, will not reach it. For those, use n8n Cloud or deploy to a server with a public domain.
How do n8n nodes, triggers and expressions work?
Seven words cover most of what you need on day one:
| Term | What it means | Example in this tutorial |
|---|---|---|
| Workflow | The whole canvas: a set of connected nodes | “Feedback summariser” |
| Trigger node | The first node; it decides when the workflow runs (form submitted, schedule, webhook, new email) | n8n Form Trigger |
| Node | One step that reads data and outputs data | Basic LLM Chain, Google Sheets, Gmail |
| Item | One record of JSON data passing through. Ten form submissions are ten separate executions of one item each | One person’s feedback |
| Expression | A small formula inside double curly braces that pulls data from earlier nodes | {{ $json.Feedback }} |
| Credential | A saved login or API key that a node uses to reach another service | Google account, OpenAI API key |
| Execution | One run of the workflow. Cloud plans are priced by executions per month | Each form submission |
AI nodes in n8n come in two parts. A root node such as Basic LLM Chain or AI Agent holds the prompt and logic. A sub-node plugs into it underneath and supplies the model, such as OpenAI Chat Model or Google Gemini Chat Model. You will see this in step 2.
Step by step: build a form → AI summary → Google Sheet → email workflow
The goal: anyone fills in a short feedback form. n8n asks an AI model to summarise the feedback in one sentence and label the sentiment, adds a row to a Google Sheet, and emails you the summary. Before you start, create a Google Sheet named Feedback log with these column headers in row 1: Submitted, Name, Email, Feedback, Summary.
Step 1: Add the n8n Form Trigger
- Create a new workflow and select Add first step. Search for n8n Form and choose the trigger “On form submission”.
- Set the form title to “Course feedback”.
- Add three fields:
Name(text, required),Email(email, required) andFeedback(textarea, required). - Select Execute step. n8n opens the form in a new tab using the Test URL. Fill it in and submit.
Back on the canvas, the node output shows one item. The field labels become the JSON keys, which matters for the expressions later. It will look roughly like this (n8n also adds metadata such as the submission time):
{
  "Name": "Priya",
  "Email": "[email protected]",
  "Feedback": "The live sessions were useful but the Week 3 recording was missing audio for the first 20 minutes. Please re-upload it.",
  "submittedAt": "2026-09-26T10:42:11.000+05:30",
  "formMode": "test"
}
Step 2: Summarise with an AI model (Basic LLM Chain)
- Click the + after the form node and add Basic LLM Chain.
- Set Prompt to “Define below” and paste this into the prompt field (switch the field to Expression mode so the curly-brace part is read as data):
Summarise this course feedback in one sentence of at most 25 words.
Then give a sentiment label: Positive, Neutral or Negative.
Reply in exactly this format:
Summary: <sentence> | Sentiment: <label>

Feedback: {{ $json.Feedback }}- Under the chain, click the Model connector and add a chat model sub-node: OpenAI Chat Model or Google Gemini Chat Model. Create a credential with your API key from that provider. On n8n Cloud Starter and Pro, supported model nodes can also run on n8n’s prepaid Gateway credits, which skips the API key setup.
- Select Execute step.
The chain outputs a field called text. For the sample above you should see something close to:
Summary: Learner found live sessions useful but reports missing audio in the first 20 minutes of the Week 3 recording and asks for a re-upload. | Sentiment: NeutralModel wording varies from run to run; that is normal. What you are checking is that the format holds. If it does not, tighten the prompt or add a system message under Chat Messages, such as “Reply only in the requested format.”
Want to build workflows like this with feedback on your work?
The ISS AI & Agentic Systems program covers n8n, Zapier and Make automations, RAG bots and AI coding tools over 16 live weeks. Compare the curriculum with free tutorials like this one, and grab the free AI Projects Starter Kit on this page for more project ideas.
View AI & Agentic Systems curriculum →Step 3: Log the result in Google Sheets
- Add a Google Sheets node and choose the action Append row in sheet.
- Connect your Google account as a credential. On n8n Cloud this is a sign-in button; self-hosted instances need a Google Cloud OAuth client, which n8n’s credential docs walk through.
- Pick the Feedback log document and the sheet tab. Set Mapping Column Mode to “Map each column manually”.
- Fill each column with an expression. Because the form data is two nodes back, reference the form node by name:
| Sheet column | Expression |
|---|---|
| Submitted | {{ $('On form submission').item.json.submittedAt }} |
| Name | {{ $('On form submission').item.json.Name }} |
{{ $('On form submission').item.json.Email }} | |
| Feedback | {{ $('On form submission').item.json.Feedback }} |
| Summary | {{ $json.text }} |
The easiest way to write these is to drag the field from the input panel on the left into the parameter box; n8n writes the expression for you. If you renamed your form node, use that name inside $('…') instead.
Step 4: Email yourself the summary
- Add a Gmail node with the action Send a message and connect your Google account.
- To: your own address. Subject:
New feedback from {{ $('On form submission').item.json.Name }}. - Message:
{{ $('Basic LLM Chain').item.json.text }}followed by the original feedback, so you can check the AI’s summary against the source.
Send the email to yourself, not to the person who filled in the form, until you have tested the workflow with a dozen real-looking entries. Automated emails to customers are where AI mistakes become visible.
Step 5: Test the whole workflow, then publish it
- Select Execute workflow. n8n opens the form with the Test URL; submit a new entry and watch each node turn green.
- Check the sheet row and the email. Try an edge case: very short feedback (“ok”), feedback in Hindi, and a long angry message.
- When it behaves, save and publish the workflow. Copy the Production URL from the form node and share that link. Test URLs only work while you are testing in the editor.
- Open Executions the next day to see each production run and any failures.
What are the most common n8n errors for beginners?
| What you see | Likely cause | Fix |
|---|---|---|
| The form link works for you but not for others, or stops working | You shared the Test URL, or the workflow is not published | Publish the workflow and share the Production URL |
| Production runs happen but you see no data on the canvas | Production data does not show in the editor | Open the Executions list to inspect each run |
| “The service is receiving too many requests from you” on the OpenAI node | You hit the provider’s rate limit or have no API credit | Add billing credit with the provider; for bulk runs use Loop Over Items with a Wait node |
| Google Sheets error that column names changed | You edited the sheet headers after setting up the node | Re-select Mapping Column Mode so n8n fetches the headers again, then remap |
| An expression shows empty or an error after renaming a node | Expressions such as $('On form submission') refer to nodes by name | Update the name inside the expression, or re-drag the field |
| A chat model sub-node uses the same value for every item | In sub-nodes, expressions always resolve to the first item | Put item-specific data in the root node’s prompt, not in the sub-node |
Self-hosted webhooks or forms show a localhost address | n8n does not know your public URL | Set the WEBHOOK_URL environment variable when running behind a domain or reverse proxy |
A good habit from day one: add an Error Trigger workflow that emails you when any workflow fails. Silent failures are the main reason automations lose trust.
What should you build after your first n8n workflow?
Once form → AI → sheet → email works, extend it one idea at a time:
- Add a branch: use an If node so only “Negative” feedback triggers the email, while everything is still logged.
- Get structured output: turn on “Require Specific Output Format” in the chain and add a Structured Output Parser, so Summary and Sentiment land in separate columns.
- Swap the trigger: replace the form with a Gmail trigger or a Schedule trigger to process an inbox or a daily report.
- Move to an agent: replace the chain with an AI Agent node that can call tools, such as looking up a student record before replying. Read what AI agents are before you give an agent write access to anything.
- Answer from your own documents: connect a vector store so the AI answers from your FAQs. Our guide to what RAG is in AI explains how.
If you want a structured path rather than tutorials, our comparison of n8n courses for AI automation lists free and paid options. When you have two or three working workflows, write each one up as a short case study; AI projects for your resume shows how to present them.
Frequently Asked Questions
Is n8n free to use?
The self-hosted Community Edition is free to run on your own computer or server under n8n's fair-code licence, though you pay for any server you use. n8n Cloud has a free 14-day trial with a limit of 1,000 executions, after which paid plans start at 20 euros a month billed annually for Starter, based on n8n's pricing page checked in September 2026.
Do I need coding skills to learn n8n?
No. You can build useful workflows with nodes and simple expressions such as reading a field from an earlier step. Basic comfort with JSON helps a lot, and a Code node is available if you later want to write JavaScript or Python.
How long does it take to learn n8n?
Most beginners can build a first working workflow like the form to AI summary to Google Sheet example in one or two sessions. Becoming confident with branching, error handling, AI agents and credentials for several apps usually takes a few weeks of regular practice.
Can I use Gemini instead of OpenAI in n8n?
Yes. n8n has a Google Gemini Chat Model sub-node that plugs into the Basic LLM Chain or AI Agent node in the same way as the OpenAI Chat Model. You need a Gemini API key saved as a credential, or Gateway credits on supported n8n Cloud plans.
Should I learn n8n or Zapier first?
Both teach the same idea of triggers and actions. n8n suits people who want AI nodes, branching logic and the option to self-host. Zapier suits people who want the simplest setup for common business apps. Pick one, build three real workflows, and the second tool will take far less time to learn.
Sources and methodology
- n8n, Plans and pricing: Starter, Pro, Business and Enterprise prices, executions, Community Edition. Checked September 2026.
- n8n Docs, Try free then choose a plan: 14-day trial, 1,000-execution limit, workspace deletion and 90-day download window. Checked September 2026.
- n8n Docs, One-line setup and Install with npm: Docker-based install command, localhost:5678, npm deprecation from n8n 3.0. Checked September 2026.
- n8n Docs, n8n Form Trigger: Test URL versus Production URL and publishing. Checked September 2026.
- n8n Docs, Basic LLM Chain and Use Gateway credits. Checked September 2026.
- n8n Docs, common issues for OpenAI Chat Model and Google Sheets. Checked September 2026.
- n8n on GitHub, n8n-io/n8n: fair-code model and Sustainable Use License. Checked September 2026.
Method: the setup steps, prices and error messages come from n8n’s official pages. Menu labels in n8n change between versions, so if a button name differs slightly on your screen, look for the closest match. The sample form data and AI output are illustrative examples written by the ISS Editorial Team, not real submissions.
Next steps
Build the workflow above this week and extend it with one branch. If you then want a guided path through n8n, RAG bots, agents and AI coding tools, with live sessions and project reviews, look at the AI & Agentic Systems curriculum.
If it fits your goals, you can apply for free. You speak with admissions first and pay only after you accept an offer.